How to| Create a User Interface Using .NET/Link
.NET/Link lets you write sophisticated user interfaces by calling .NET types directly from the Wolfram Language. Doing so allows you to evaluate code as you add it, either one or multiple lines at a time, much like when writing a program in the Wolfram Language. This results in an extremely powerful development environment that allows you to experiment with your user interface while it is running.
You must load the .NET/Link package before you can use .NET/Link (which can only be loaded on the Windows platform):
Use InstallNET to launch the .NET runtime:
Start off by creating a Windows Form, that is, a "window"; you can add controls such as menus to such a form:
Now the form appears. Watch what happens when the following properties are set for the width, height, and title:
You have just set standard .NET properties, much as you would in C# or Visual Basic. However, unlike these programming languages, the changes appear immediately in the window.
Next, create a Rich Text (RTF) box to enter and display text. This will later be added to the form:
Set its default font family and font size:
You will now dock the RTF box to the form.
First, load the .NET DockStyle type:
Dock the RTF box to the edges of the form, with the DockStyle set to Fill. This makes the RTF box fill the form, regardless of how the form is resized:

Next, make some menu items and add them to the form.
Add the Save As menu item to the File menu item:
Make menu items for selecting the font type and text color:
Add the Select Font and Select Text Color menu items to the Format menu item:
Make a main menu and add the File and Format menu items to it:
Add the main menu to the form:

You must now specify how the events, in this case clicking the specific menu items, will be handled.
Clicking the Save As menu item will open a file browser to save a rich or plain text document:
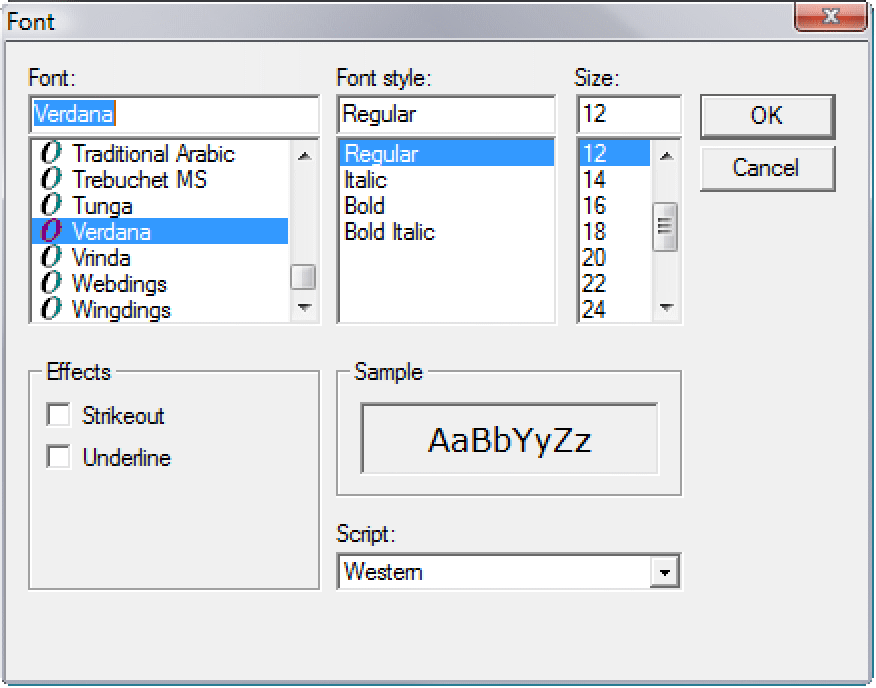
Clicking the Select Font menu item calls the Windows Font dialog when text is selected:

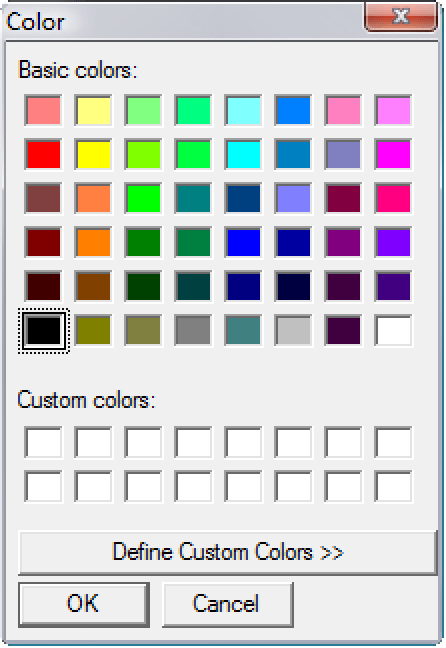
Similarly, clicking the Select Text Color menu item opens the Windows Color dialog box when text is selected:

You can now type and format text in the form.
You can also set the form to display some initial text:
In the form, choose Format ▶ Select Font, and display some parts of the text in bold or italics. Choose Format ▶ Select Text Color to add color to the text:

The file can now be saved by choosing File ▶ Save As in the form:
