Put a Frame around a Cell
Using the Writing Assistant Palette...
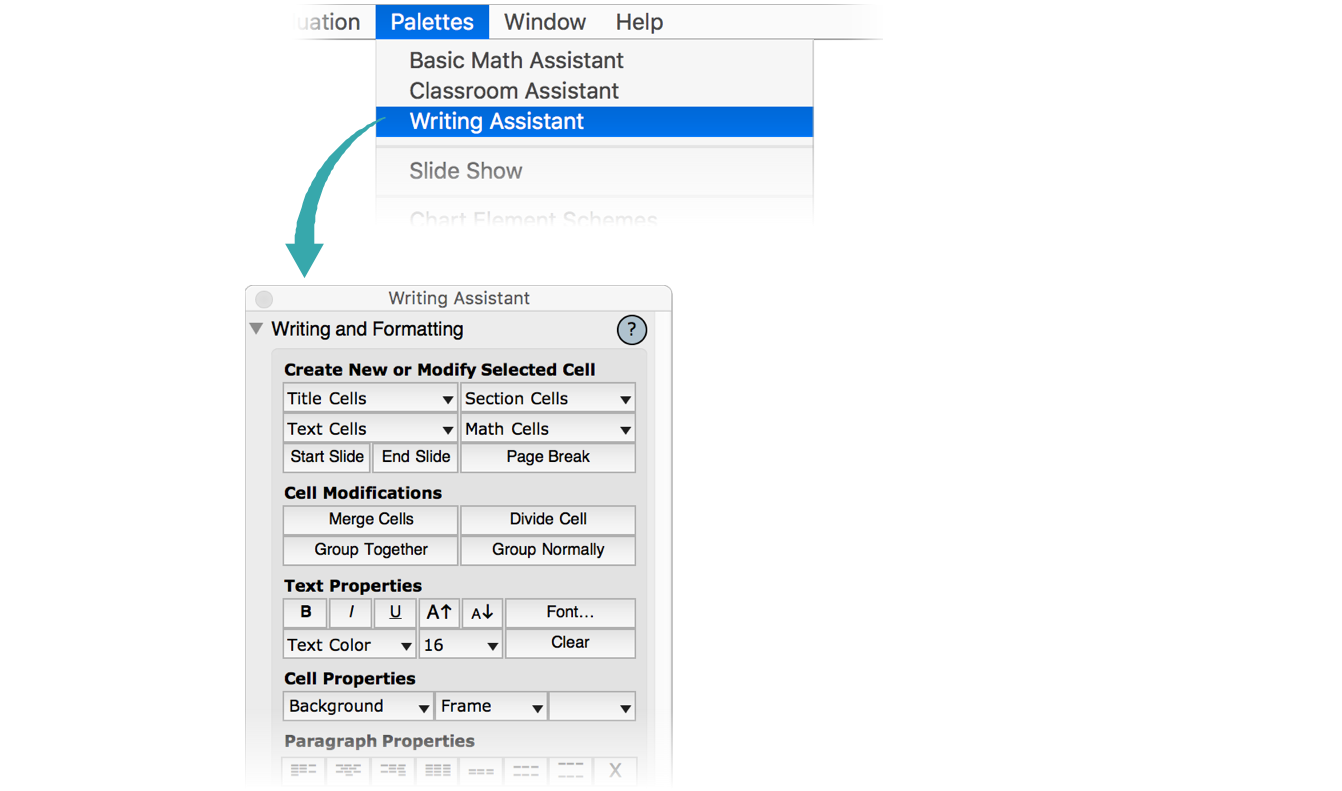
Open the Writing Assistant palette
Choose Palettes ▶ Writing Assistant to open the Writing Assistant palette:
Select a cell
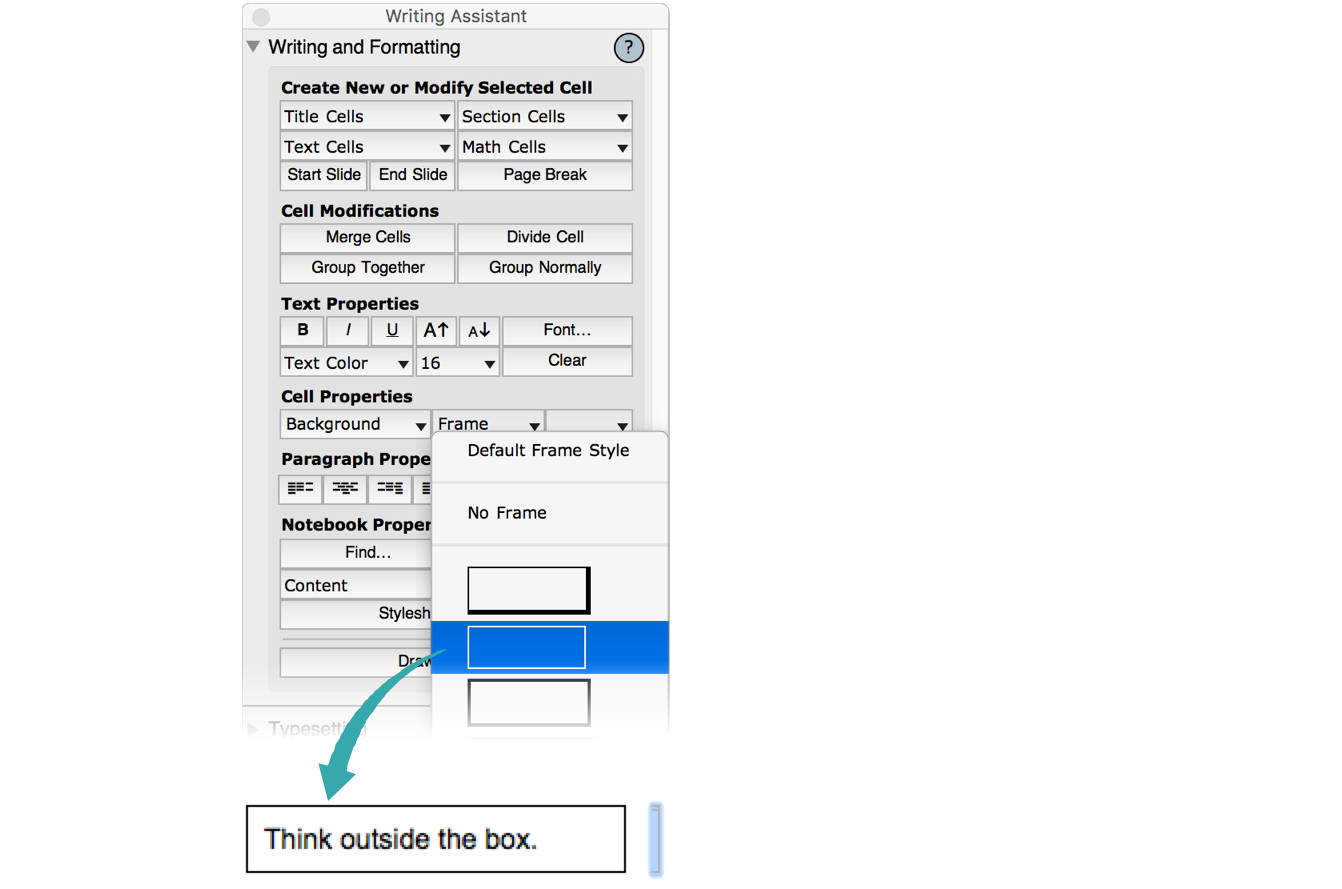
Click the cell bracket of the cell to which you want to add a frame:
Add a frame to the cell
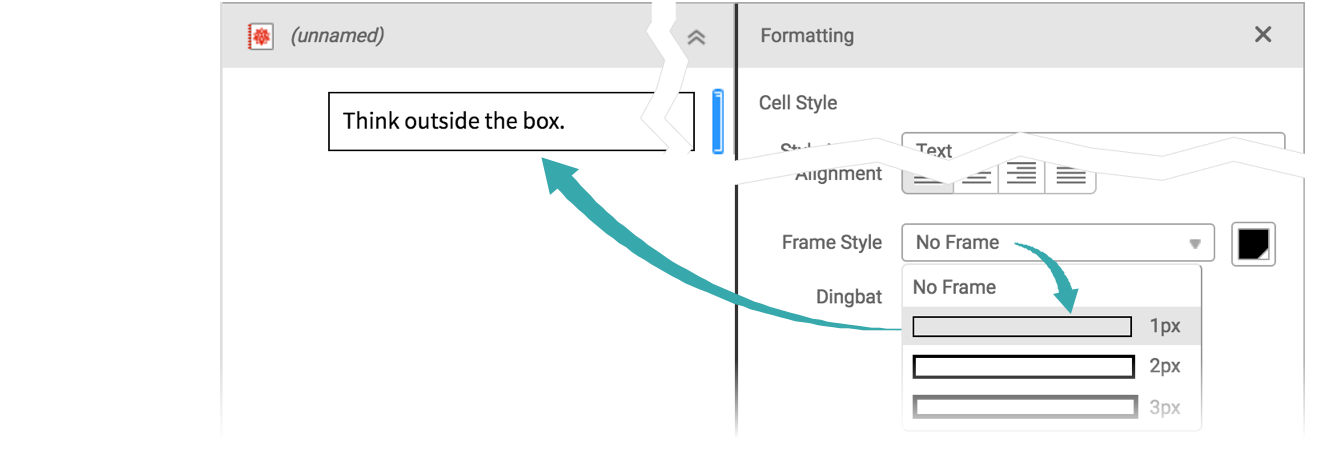
Click the Frame popup and choose a frame style from the list:
With a Custom Button...
Make a styling button
Make a button that adds a frame to the current selection:

Use the button
Use the button to add a frame to a cell:

- Custom buttons are useful for making styling toolbars. See Set Up a Docked Cell for more information.